Gel Polish Kits
Everything needed for a full gel manicure in one box. Gel polish kits bundle the lamp, base coat, top coat and colour together, which works out considerably cheaper than buying each piece separately and removes the guesswork about what is compatible with what. Whether you are setting yourself up at home or building a starter kit for training, this is the quickest route to a complete gel setup.
What is usually in a kit
Most complete kits include a UV or LED curing lamp, a base coat, a top coat and at least one or two colours. Better sets add the prep and finishing pieces that genuinely matter: a nail cleanser or prep solution, lint free wipes, a cuticle pusher and a buffer. Some include remover and foil wraps for taking the gel off again, which is worth checking before you buy, since removal is the step most people are unprepared for.
Lamp wattage and type
The lamp is the part of the kit that determines your results more than anything else. LED lamps cure in thirty to sixty seconds and suit most modern gel polishes. UV lamps take longer, usually around two minutes, but remain compatible with a wider range of older formulas. Dual LED and UV lamps handle both and are the safer choice if you plan to add polishes from different brands later. Higher wattage cures faster and more evenly across all five nails at once, which matters most on the thumb, where curing is easiest to get wrong.
Choosing between kit sizes
Smaller starter kits with one or two colours are ideal if you are testing whether gel is for you, and they cost very little to try. Larger kits with a full colour range work out better per bottle and make more sense if you already know you will keep using them. If you are buying as a gift, a mid-sized kit with a decent lamp and a handful of wearable shades is usually the safest pick.
Getting a lasting finish
Preparation does more for wear time than the polish itself. Push back cuticles, lightly buff the surface to remove shine, then wipe with a cleanser so the base coat has a clean, oil free nail to grip. Apply every layer thinly, as thick coats cure unevenly and peel within days. Cap the free edge by running the brush along the tip of the nail on each coat, which is the single most effective trick for stopping lifting. Cure each layer fully before moving on.
Removing gel properly
Never peel gel off. It takes layers of the natural nail plate with it and is the main reason people end up with thin, weak nails and blame the gel. Buff the top coat to break the seal, soak cotton pads in acetone, wrap each nail in foil and leave for ten to fifteen minutes, then gently push the softened gel away. If it resists, re-wrap and wait longer rather than forcing it. Finish with a cuticle oil to put some moisture back.
Free UK delivery on all orders.
-
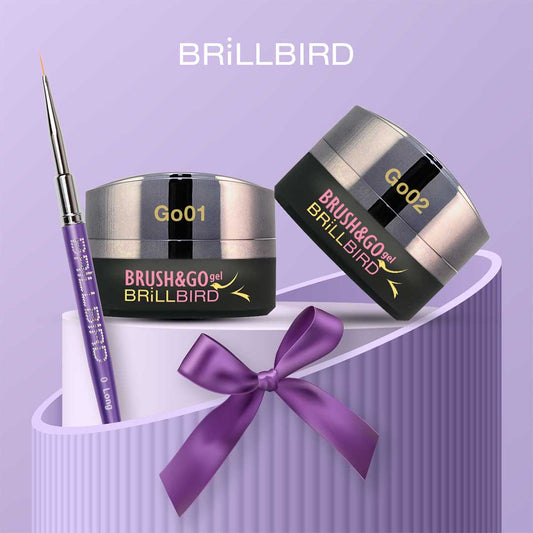
Brillbird Brush & Go Bundle 1
Vendor:BrillbirdRegular price £46.40Regular price -
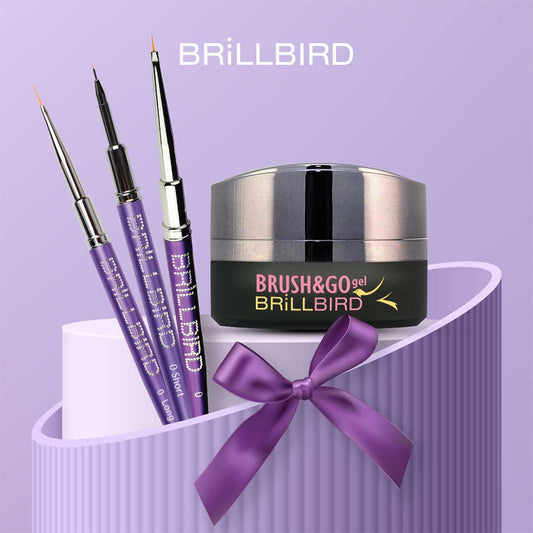
Brillbird Brush & Go Bundle 2
Vendor:BrillbirdRegular price £58.34Regular price -
 Sold out
Glitterbels Hema Free Trial Kit
Vendor:GlitterbelsRegular price £75.77Regular price -
Glossify Naturabuild Ultimate Starter Kit with Lamp
Vendor:GlossifyRegular price £185.18Regular price -
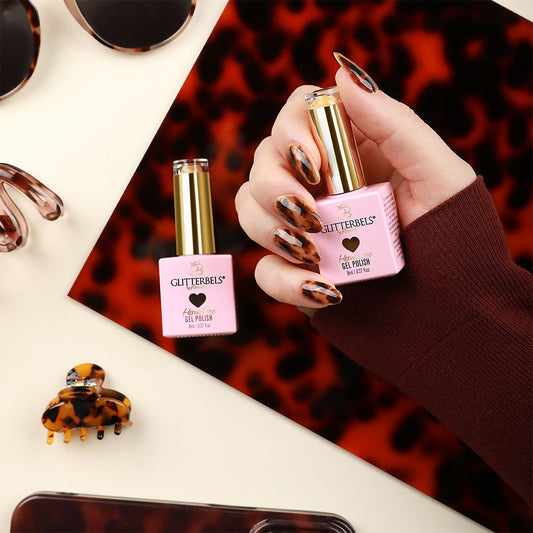
Glitterbels Lemon Syrup Tortoise Kit 8ml x 3
Vendor:GlitterbelsRegular price £35.18Regular price -
Glitterbels High Flash Reflective Gel Collection 8ml x 6
Vendor:GlitterbelsRegular price £62.72Regular price